Friday, September 30, 2011

Stackaholics Anonymous

I'm joining in with Seth Apter (and a host of others) in standing tall & proud with my stack. (thanks Kelli for the link!)

My husband asked "Which stack?"

Haha...isn't that funny (and true).

I have said before that I have an over active imagination and with that, comes an over abundance of ideas.
My attention span is not overly large though...

You know what follows - lots of UFO's.

I have stacks of class ideas, a stack of step outs for class ideas that were abandoned for better ideas, stacks of files of interesting magazine pages, stacks of interesting pieces of things that have texture, stacks of things that are red, stacks of things that are...

You get the idea. (No, I am not a hoarder) (I don't think I am...)

So, thank goodness Seth narrowed things down for us all by drawing attention to
"The Paper Stack".

Since I couldn't back far enough away from my stack of "paper to be used in journal/book making" to get a photo, I decided to simply photograph my stack of paper filled handmade books. This is not all of them as I have them sent several out to various other homes at the moment.

So - here it is. My photo confessional of the day along with my admission.


I, too, am a Stackaholic.


 Come on, you'll feel better after you confess it...Join in with us!

Thursday, September 29, 2011

Weekend Classes

I just wanted to put a reminder up here about the weekend book making class at Artists Guild Gallery of Greenville.  (SC).
I have 2 spots left in the class if anyone is interested in it.

Hours -
Saturday Oct. 1  10:00-3:00
Sunday Oct. 2  1:00-6:00ish

Fee $135 plus optional $20 kit (check, cash or credit cards accepted)

email me with questions(carolbsloan@yahoo.com)

This is everyones favorite class. You will love what you learn and the book that you leave with.
I think that this is a great beginner through advanced class.

It is packed with great techniques including:
Understanding the differences in papers and acrylic mediums and which mediums to use when.Great ways to include vintage linens and keepsakes that you have been hanging onto.
Basic construction of a handmade book.
Sewing on nontraditional surfaces.
Making and painting signatures/book pages.Collage methods to create beautiful book pages.
how to utilize papers, fibers, fabrics &/or keepsake items to construct a waterproof book cover
machine and hand-stitching techniques to attach signatures in to the book
embellishing the front cover of the book to make it uniquely yours.
How to make the outside of your book waterproof and extremely durable.


I send you home with a lot in information in written form so that you will have something to refer to later and I am always available via phone or email to help you should you need it.

We all need to nuture our creative spirits - this class is a fantastic way to do just that!


Wednesday, September 28, 2011

The Sketchbook Challenge E-zine

Stop the presses! The first Sketchbook Challenge E-zine is now available for purchase!


The Sketchbook Challenge E-zine is 83 full color pages of creativity, inspiration and projects!

What you’ll find inside...
Learn how to draw a pinecone with Jane LaFazio
Exploring Text Collage with Kelli Nina Perkins
Make a Scrappy House Quilt with Jamie Fingal
Working in series by Jane Davies
Make bad art with Lyric Kinard and become a better artist
Sue Bleiweiss shows you how to make a sketchbook sleeve
Carol Sloan shares her remedies for blank pages
Take 5! with Carla Sonheim
Screenprinting for the Mixed Media Artist by Leslie Tucker-Jenison
Take your sketchbook out to eat with Susan Sorrell
Stacked Journaling with Judi Hurwitt
Learn how to use your inner GPS to create journal pages with Violette
Learn a trio of pamphlet binding stitches from Diana Trout

Important information regarding printing this document for binding:This e-zine has been formatted for on screen viewing. If you want to print a copy to have bound then you must scale the document to 90% to allow for a wide enough left side margin. In the print box, select the scale option and change it to 90%. Please print a test page first (we recommend page 5) to make sure that the setting is appropriate for your printer before printing the entire document.

Want to read the zine on your IPAD or Android Tablet?
In order to get it onto your IPAD you'll need to save it to your computer first and then use an online transfer vehicle such as dropbox.com. Upload the zine to your dropbox account and then go to your Ipad and search the app store for the dropbox app. Install that on your Ipad.
Open the dropbox app, log in and you'll see your dropbox files. Download the zine to your Ipad. Since it's an adobe document you'll need to have some sort of pdf reader app installed. Ibooks works great for this.


For Android devices, simply follow the link to purchase and download your zine. On Android, files do not launch automatically, so you'll have to go find the file. To launch and access pdf files, search the Android market for a file manager app like Astro. Download the Astro or other app and use it find the files stored on your device's memory or storage card. After downloading the SC Zine, open Astro and navigate to the "downloads" folder. Locate the file sczine_final.pdf and click on it and it will offer reader options based on your own device (eg. Adobe Reader, Aldiko, LumiRead, PDF to Go, etc.). Any of your installed readers should work. Enjoy!


The Sketchbook Challenge E-zine is in pdf format and include step-by-step instructions and full-color photo illustrations. You must have Adobe Acrobat Reader 5.0 or higher to be able to open the lessons. Adobe Acrobat Reader is a free software that you can download from the Adobe Website here.
POST A REVIEW AND WIN A PIECE OF MAIL ART!

Post a review of the sketchbook challenge e-zine on your blog or website and we'll enter your name into a drawing to win a piece of mail art from one or more of the Sketchbook Challenge artists! Send a link to your published review by 12/1/11 to sue at sue@suebleiweiss.com to be entered into the drawing. Winners will be announced in December - good luck!

Tuesday, September 27, 2011

Angels

A friend of mine is packing up her home in preparation for a move to another state.
Yesterday I drove over to her house to hep her separate, purge and organize her sewing room. She collects antique furniture, linens and period clothing (yum) but I had no idea what treasures she had stored in her attic!
Homespun linen, laces, tatted edgings, crocheted doilies and beautiful embroidered samplers...that's just the short list!
I wasn't planning on bringing anything home with me (remember - I said "NO MORE" a few posts ago??)....
I was weak people...
so weak...

Here is one tiny little peek of why I was so weak...


I love the angels!
And I love the HUGE piece of Homespun linen that she gave me also.
And the yardage of hand tatted edging...
and the...
and...

So weak.

Thursday, September 22, 2011

I'm back with the tale of my Shower Curtain Unfurling...
or the unfurling of the shower curtain idea...
or the “I don't know if I'll ever do this again” shower curtain story...

It could simply be called the “Try to find a commercial shower curtain that you like before you decide to make it yourself” story.

All jokes aside, I love the curtain that I made.

BUT I learned some really good lessons from this experience.
1. Lean wayyyy in to your sketchbook, really flesh out your ideas before jumping in without a well thought out plan.
2. Work on a teeny tiny baby shower curtain FIRST (you know, before you make that great ole big one)
3. Lay out the step by step BEFORE you make the curtain. (duh)
4. Have everything ready so that you will only have to take the curtain down ONE time (instead of the five or six that I did). (can I get another “duh” from the peanut crowd?)
Can you see where this tale is unfurling to?

I am a “let's try this and if we screw it up we can fix it later” kinda girl.
I get great ideas (or they seem like it) and jump right in without figuring out the best way to do it.

It works a lot of the time.
But some of the time, I make things really hard on myself.
This may have been one of those times...

I was so excited to get going on the appliqued flowers that I couldn't wait to have all my supplies.
I didn't have enough (suitable) green fabric so I contacted one of my fabulous fabric dyeing friends for help.

It's great to have “people”, ya know?
My friend, Patsy Thompson, whipped out a couple of fabulous greens to choose from. They were so luscious that I had to use them both.

What got me in trouble (not real trouble but “too much time messing with it” trouble) was that I went ahead and began sewing on some flowers before I had all of my supplies.
I finished the first flower and had to hang the shower curtain back up (cause we had to take a shower...).
The next day I realized that while I had sewn around the large green background fabric, I had neglected to secure the colored petals onto the flower. I used Mistyfuse (which I totally LOVE!) but I wanted to make sure that the smaller petals were there to stay.
Well – I had to take the shower curtain back down to do that.
And, yep, you guessed it – I had to put it back up that evening (cause we had to take showers, ya know).
And on it went...
I must have taken that curtain up and down , um...well, several times.
Wayyyy too many times actually.
I later realized that the easiest thing to do would have been to leave the old curtain up while I was working on the new one.

So, the actual step by step of it was this -

1. Draw a simple line drawing of a flower.


2. Create a Thermofax screen of the drawing (I can do this for you!).
3. Screen print the flower onto five different colors of red/orange/yellow fabric as well as five separate prints onto green fabric. I used red or orange fabric paint for the red flowers and green paint for the green ones.
4. Heat set the fabric paint per manufacturers instructions.
5. Apply Mistyfuse to each fabric flower per instructions.
6. Using the screen printed lines as a guide, cut out each petal of the red (yellow/orange) flowers.
7. Using the screen printed lines as a guide, cut apx 1/8” to 1/4” away from the outside line of the flower shape. You will have the entire flower shape cut out as one piece. Look at the close up below to see how you will be using the green fabric. It will make sense to you after this. You can also see the lines of the screen print below.

8. Place the small petal pieces that you cut out onto the green flower shape. You will be able to see the lines for each petal on these shapes making it very simple to line things up.
9. Iron to activate the Mistyfuse per manufacturers instructions.
10. Using a small zig zag stitch with mono-filament thread, secure the petal shapes to the green background piece. Do this on all of the flowers.
11. Lay out your flower garden on the shower curtain. Vary the height of each flower to give more interest. Fuse in place.
these are the flowers pinned in place

12. I used strips of torn green fabric for the stems of the flowers, varying the length of each one. I tied the pieces together, leaving the ends a little longer to mimic leaves. I cut the tips of the “leaves” at a slight angle.
13. Pin the stems in place.
14. Stitch each stem with a straight stitch, then secure each flower by zig zag or straight stitching around the edge of the flower.
15. Quickly hang the shower curtain and grab a large glass of wine to celebrate your creativity.


So there you have it.
How one spark of an idea unfurled into a home dec DIY project.

And to think that it all started with a new makeup bag...

Wednesday, September 21, 2011

Random Arts is BACK!!

The shop that we all love in the western mountains of NC is back!
Random Arts is back!
Jane Powell will have her shop open tomorrow (Thursday), Sept. 22 from 10-5.
I'm hoping to be able to make it up there with samples for my next book class.

Oh - the next book class!

I'm so happy to report that I'm teaching the fun mixed media book making class on Oct. 13 & 14 at the new shop!
I can't wait to see what the new place is like.
Jane has such a way of putting things together that I'm sure the studio is going to look wonderful.
We're going to have lots of room to spread out too.

So - if you're interested in taking the book class in this new and creative environment, get in touch with Jane about the class.
I was actually thinking that you could get a room in one of the local B&B's and make a mini retreat out  of the whole thing!
Now that would be fun...I'm thinking that I will stay up there overnight for the second day of class...be sure to let me know if you're staying in town or close, we can get together for dinner.

I'll leave you with several photos of books that I have made for the class.
I use my books to paint in, draw/sketch in as well as write in.
You could make them the work of art...
You could use them as visual journals, a place to capture photos, or as a written journal.

I love to just thumb through them after I have made them.

Those of us who love books will know exactly what I mean when I say that it is just a joy to hold that handmade book in your hands.
The effort that goes in to making the book is so worth it.
I promise that you will love this class!


Thursday, September 15, 2011

Urban Sketching

When I was a young girl, I used to love to ride my bike. I would wake up early (my mom said that someone had to wake the chickens, right?), eat a quick breakfast and jump on my trusty stead.
What I felt for my bicycle could be described very easily.

Bike = Freedom


I rode a bike almost everyday until I was 16 (then I discovered boys with cars).
I have missed riding.
One day a couple of months ago my husband and I rented bikes to make sure that we wanted to ride regularly before we purchased one.
And, in all honesty, to make sure that my back and hip could take it (I have back and hip "issues").
And of course, it was great!
I felt the same exhilaration that I did when I was younger...that same feeling of freedom (maybe with an additional ache or two!).

A couple of nights ago my husband had a baseball game to umpire. I didn't want to stay at home, I wanted to ride my bike, I wanted to do some urban sketching...

What's a girl to do?

Why allow her gallant husband to offer a solution!
He loaded my bike into our car and we all took off to the complex where the games were.

I made sure that I had the necessary sketching tools & supplies.
1. Compact watercolors
2. Water brush
3. Pitt Artist Pen
4. Reading glasses (or drawing glasses...)

I took off on my bike (Electra Townie 7D) (awesome round town cruiser). I rode over and watched a little bit of youth football (and those cute little cheerleaders), a softball game, a soccer match, and a baseball game. I got a little bit of exercise, let the wind blow through my hair and then set up to draw.

First I drew my Townie.


Now the back wheel really isn't that small...It was late, I was getting tired, the light was bad - okay, how many more excuses do you want?
My bad but I still love the simple lines on that drawing.
And the fun of it is this - I'll draw it again and it will be a better next time!
I'm getting practice, I'm not only exercising my body but I'm exercising my drawing skills...
Remember - if you don't USE it, you'll LOSE it.

By the time I finished the Townie, it was too dark to draw anything else where I was.
So I headed down to the baseball game.
Found a patch of blooming gardenias...
Drew this in the twilight -

I love the way that the gardenia petals unfurl as the bud opens, don't you?
The blooms smell so sweet...
They remind me of waking from a summer's nap at my grandmothers home. She had huge shrubs just full of sweet blooms outside of the bedroom that I napped in. I'd wake with the windows open and that sweet smell greeted me.
The gardenias remain one of my favorite flowers to this day.

So - remember to exercise your body as well as your mind.
Use your eyes to really see the world around you as you use your hands to draw what you're seeing.

Don't forget to check out the Sketchbook Challenge Blog. There are several free tutorials on the site as well as links to many, many more!

Thursday, September 8, 2011

New Class Schedule

Hello everyone!
I sent out a newsletter about an hour ago announcing a new book making class that I have scheduled in Greenville SC at Artists Guild Gallery of Greenville on Saturday October 1 and Sunday October 2.
I am limiting the class to 6 students and have already heard from 3 people that are registering. (yay!)
Sooo, I'm thinking that if you want to take this particular weekend class, you'd better get in touch with me pretty quick as it is filling up.

Down and dirty details

Who -me and you (and 5 other lucky people)
What- Mixed Media Book Making class
Where- Artists Guild Gallery of Greenville
When- Saturday Oct. 1 10AM-3PM
            Sunday Oct. 2 1PM- 6PM
Why- For fun, To learn new & exciting things, To stretch that creative spirit, to get out of cooking dinner and doing housework!
Cost- $135 for both days, $20 optional kit

Questions? Email me at carolbsloan@yahoo.com for registration details

Tuesday, September 6, 2011

Developing Ideas

This post is also being posted over at the Sketchbook Challenge blog.
I hope that you're following along on that blog - there are so many free tutorials from 16 different artists!

This summer I purchased a Thermofax machine (yes, I jumped up and down when I saw the ad!).
I had been thinking of looking for one for a while and wasn't fully committed to the idea when I looked at a local "Craig's List" ad.
There it sat.
Only one for sale.
Only 20 minutes from my house.
Only a few hundred bucks...

What's a girl to do?

I decided that it must be Fate at work and made the phone call.
Bingo.
I made a few calls and inquiries about the machine, calculated the cost of getting it up and running and made the leap.
I had to invest a little more money on maintenance, film and a belt but I still got a good deal.
Now I am the (ecstatic, jubilant,over joyed) owner of my own Thermofax!
One of the things that I wanted to do was offer screens of my line drawings.
And I will, it may just take a couple of more weeks for that.
In the mean-time, I wanted to share the unfurling of an idea that involves the Thermofax.

My husband recently took on the chore (and I do mean chore) of re-doing our bathroom.
Now our house was built in 1864 so you can imagine how wonky it is.
We always say this -
"The more you look, the more you find".
And it isn't always a good find either!
But - he did a great job replacing walls, floor, toilet, tub and whatever else he replaced while I was in Colorado Springs.
Smart man - doing this work while I was gone, huh?
So now we have a really clean and white bathroom.
We decided to put in one of those rounded shower curtain rods (which are awesome!) along with the snap on curtain that you can get for those type of rods.
The only color options were white, brown or gray.
Yikes...
So I decided that I could alter the white one with a bit of color.


That was the seed of an idea.
Barely shaking in the fertile ground of my mind...but beginning to take root none the less.
I began thinking about colors, shapes and tried to decide if I wanted to go with a "theme".
At this same time, Clinique was having one of their bonus buy events at Belk's.
Yep, you're asking what in the world does that have to do with her bathroom and making art??

(Stay with me, it will all come together soon)

My husband (he really is wonderful about doing these special little things btw) went by the store and got one for me, brought it home and sat it in the bathroom.


(you really need to see both sides of the bag)


Well, well, well...
That little seed of an idea just had a growth spurt!
It was unfurling, developing, gaining ground in my mind.
I want to take a second here to talk about the creative process...how creative ideas are developed.
The above story is a perfect illustration of how I get ideas.
Ideas for any art that I make - whether it's a painting, a collage, a mixed media piece or a pen and ink drawing.
I see something that triggers another idea, which triggers a different idea, which triggers...
You see what I mean.
You must learn to pay attention to your random little thoughts.
You have to allow these thoughts center stage.
Let them unfurl.

I tried a couple of different ideas for the design of the shower curtain.
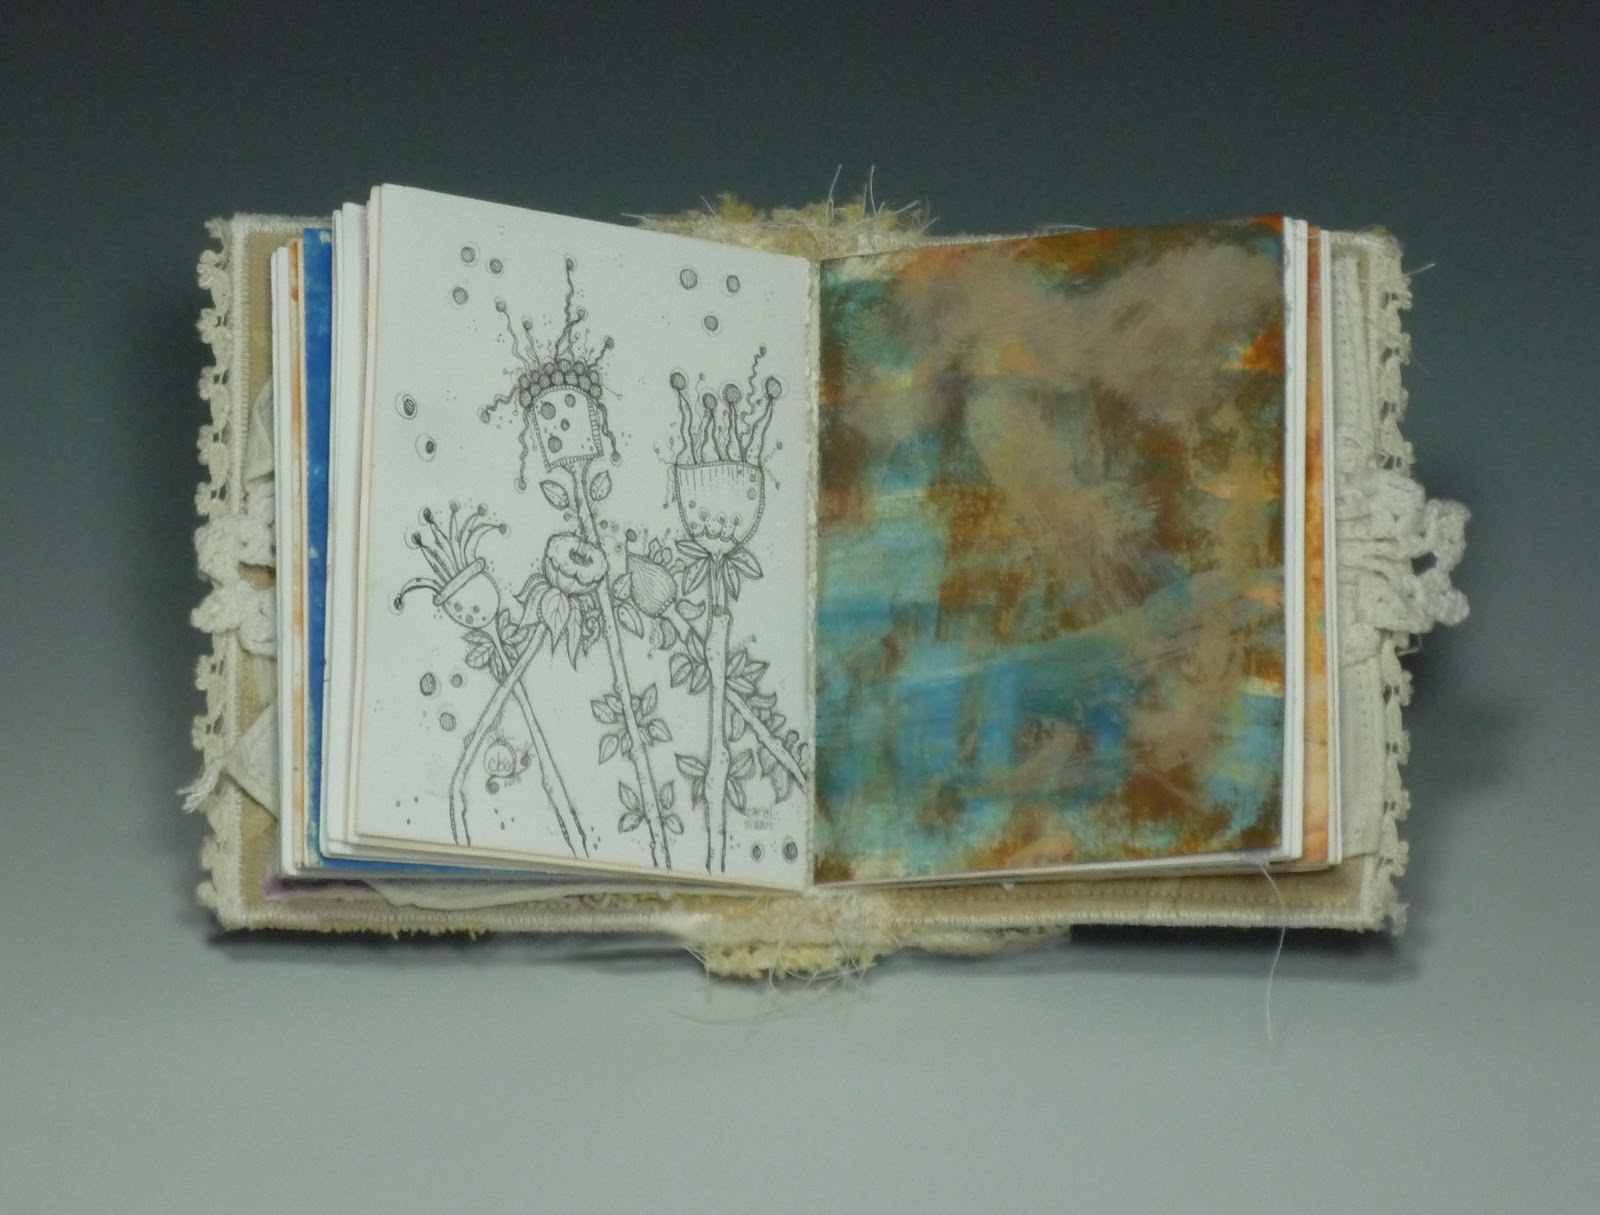
This is the one that I actually sketched out in my sketchbook.


This one is hand drawn, painted and then free motion stitched.


It's nice but not what I had in mind.
Then I drew a simple flower shape. A line drawing devoid of a lot of details.


Then I made a Thermofax screen from this drawn image.
I printed the image on a piece of green hand dyed batik using a green paint. Sounds strange but I had a plan.
I cut the fabric out around the screened image, leaving about 1/8 inch around all edges.
Then I printed the same image on a piece of orange/yellow batik. I cut each petal out separately, along with the center of the flower.

Oh – I forgot that I fused Misty Fuse on both pieces of fabric. I love Misty Fuse because it is so thin and fine. You can fuse two (or more) pieces of fabric together and it is still so soft...it's almost impossible to tell that there is a fusible between the layers at all.

After all the pieces had fusible on them and they were cut out, I placed the orange/yellow petals on the green “background”.
This is what it looked like.


Looking better...getting there.
I'm thinking of adding a long skinny stem to each flower on the curtain - like a flower garden of different colored shaggy daisies.
I'll post more as my ideas continue to develop or unfurl.
I'd love for you to hang around, to tag along with me.

Saturday, September 3, 2011

First Friday

Greenville, SC.
Artisan Traders.
1274 Pendleton Street in the historic West End art district.

That's where I was last night, along with my incredibly handsome and hard working Art Husband.
Along with a few of our friends.
Art Friends.
Art Lover Friends.
And the nurse from my internists office ;-)

Really - we had a grand time there - eating good Italian food, drinking home-made wine, tasting Art Cake, gazing at fine art and talking to fellow art makers and lovers.

Art lovers or just lovers?
Oh, a little bit of both I suspect (that's my Saturday humor kickin' in!).

Today I am starting in our bedroom -
I am being
RUTHLESS
and throwing out, donating, giving away and otherwise cleaning out my house - room by room.
I am tired (sick and tired actually) of a cluttered, dusty house and I am going to do something about it!

That's one big draw back to being a collector of things...
a repurposer of all wonderful things in your artwork...
a sentimental fool that wants to hang on to that book cause your mom loved it...
or that half made doll from your grandmothers sewing stash...
or a rusted old bell that, well, you just might need one day...
It all begins to pile up, to crush your creativity or at least your house cleaning.

Can I get a big "hell yeah!" from all of you that completely understand what I'm sayin?

Most of what I have could be found again.
I'll hang on to a few (maybe more) things but I am at the point that the rest
has got to go people.


And what is up with the return of the horribly hot and humid weather in upstate SC??
Someone told me last night that the thermometer downtown was reading 102!

I sure do hope that this won't be one of those years that fall just passes us by...
or it lasts for two days and turns to winter.

I miss my river time.
I want to go camping in some cool weather.
Looking for sharks teeth.
Wading in the Charleston Harbor.
Kayaking in the Atlantic.

I have been away from the healing powers of our kayak,
missed the flow of the river and her cool waters.

What are you missing today?

Thursday, September 1, 2011

Sketchbook Challenge September Theme

Thursday, September 1, 2011

September Theme: Unfurled

Kelli Nina Perkins here with September's Sketchbook Challenge theme. I've chosen UNFURLED as my theme for all things
spiral-y, wrapped and unwrapped, slowly revealed and layered.


Unfurl is such a lovely word. It evokes fluttering flags, tendrils of new growth, winding paths, bound fabric scrolls, blossoming flowers, secrets, unwrapped gifts, labyrinthine creations that reveal themselves one layer at a time.


unfurl
verb
1.To open, unfold, open
out
, blossom, develop, progress
2.To unroll
or
release
something that had been
rolled
up

3. to unroll, unfold, or spread
out or be unrolled, unfolded, or spread out from a furled
state
4.
To
turn
out

or
unfold;
to
evolve;
to
progress
or debut
Our
artistic journey unfurls as we acquire and debut new skills day by day. Looking
back over your creative life, see how many discoveries you've made by unfurling
your wings a little at a time. There is no hurry; no rush. We all have a little
blossom inside of us that is coaxed open as we travel through this life.
Continuous growth means constant unfolding of our protective layers, and as we
expose ourselves to others and to new experiences, we evolve into the artists we
were meant to be.
What
will you unfurl? Don't be afraid to fling your arms open wide and release your
inner artist.


Pen sketch.

Collage. Watercolor.

Stitching.

Snap a photo and add some digital sketching.


How to be eligible for prize drawings:

In order to be eligible for one of the September prize packages you must post at least one photo of a sketchbook page related to the September theme to the Sketchbook Challenge Flickr group and you MUST tag one of your photos with the code "sep257".
IMPORTANT: PLEASE ONLY TAG ONE OF YOUR PHOTOS with this special code!
It is not necessary to tag more than one and it will not increase your chances of winning.

Information on how to upload photos to flickr can be found
here.

Winners will be chosen based on random draw on 9/30/11 and announced on the Sketchbook Challenge blog either on that day or on 10/1/11.